Here in the UK, they used to have a TV programme called Changing Rooms, the basic premise of which was some bozos would turn over their house to the production team in all good faith and see their slightly dated pine furniture and half n’ half wallpaper living room transformed over a weekend into an Arab souk, or something similar. They always acted amazed and pleased.
Anyway, the presenters consisted of the aptly named Carol Smillie, a foppish designer fellow called Laurence Llewellyn Bowen, and the working-class bloke wot got all the work done whose nickname was Handy Andy. A joiner (I think) to trade, it was he who made Laurence’s wildest dreams a reality (no, not in that way – keep your minds out of the gutter) with the aid of nothing more complex than a band saw, a couple of screwdrivers and a lorry load of mdf.
Handy Andy. Wonder where he is now? No, me neither. Anyway, meet Handless Andy. Yes, dear reader, your blog may, like the Liam Neeson character in Taken, have a very particular set of skills, but DIY has never been one of them. Despite being a property owner for some 27-odd years now, the simplest tasks around the house beyond entry-level banging something in with a hammer have eluded me. Only the other day, I installed some splashback tiling in our bathroom more in hope than expectation, and its ability to stay on the wall for more than ten minutes after I stuck it there was virtually a cause for breaking out the cooking champagne on the part of the Redoubtable Mrs F. (It’s still there: two weeks and counting).
Despite my inherent lack of ability, I’ve always retained a particular fascination with wood, and the idea of working with its natural beauty to produce something of value. So recently this led me, finally, to harpkit.com, a US site which supplies all sorts of musical instrument kits, and, more in hope than expectation, I bought the means to construct a kantele, a Finnish folk instrument from the same stable as the zither, or dulcimer. I bought the kantele kit on the following grounds:
– it looked like a cheeseboard with strings, so worst case I’d have a cheeseboard;
– I’ve had a soft spot for things Finnish since spending some time there in 2006 with my friend Hannu, meeting his family and friends Esa and Saana, and being inducted into the mysteries of the Nordic sauna (and let me tell you, till you’ve stood outside a wooden hut in the woods, the sea washing quietly towards you and cold beer in hand as your heart threatens to burst right out of your chest from the sheer intensity of the heat you’ve just experienced, stark bollock naked, you’ve not fully lived);
– a quick squizz round Youtube revealed the thing had a haunting, ethereal sound which I had stupid levels of confidence I could reproduce if I could only make it all stick together.
Fortunately, for the sticky-together bit I had my secret weapon. My father in law, as well as being a very eminent physician, now retired, is extremely good with his hands, and has a shed of proper old-school drills, vices and other instruments of torture Christian Grey would kill for. The Good Doctor built most of the family home’s storage space himself, for goodness’ sake. So, after a quick chat with him, I sent off for the kit.
The first thing to say is that the kit, though not cheap, has materials of excellent quality – the wood in this case being walnut and mahogany (African, so a sustainable source – I checked); the metal work being similarly robust, and everything machined to a good finish. The instruction manual which (as we’ll see) we had occasional reference to was clear, in plain English, and easy to follow.
The second thing to say is that the consignment was held up by those pirates at the HMRC, who ransomed it for an extra thirty quid import duty, so remember to factor that in, at least if you’re in the UK.
And so came the glorious day – actually, an evening – when we ventured out into the Shed of Wonders to start the first phase of construction. According to the manual, we were to stick the first long bit of walnut to the big bit of mahogany, clamp it, and wait an hour before sticking the next long bit to that; then, finally, the third bit. However, the Good Doctor had other ideas, and after about forty minutes all four bits were glued and clamped. I left my precious baby, clamps hanging from her like some sort of strange metal leeches, in the Doc’s care, and headed off into the night.
The next time I saw her, with clamps removed, was something of a relief:
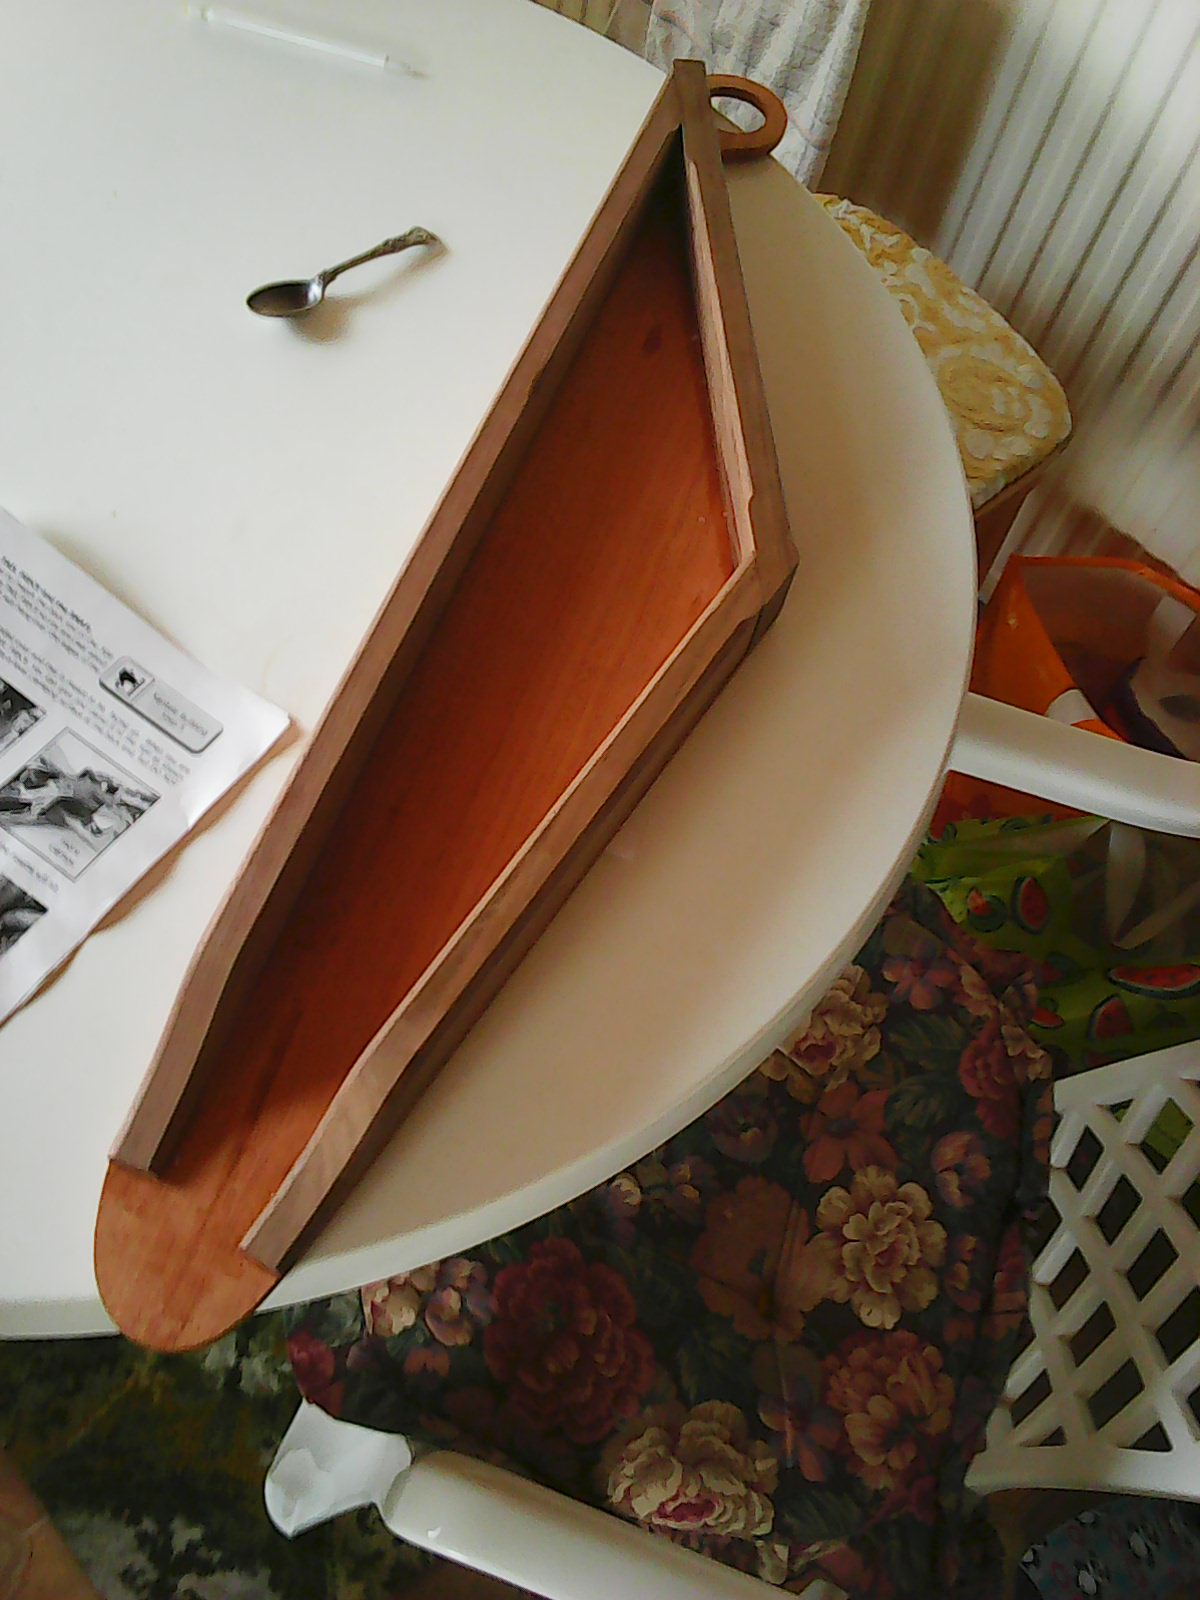

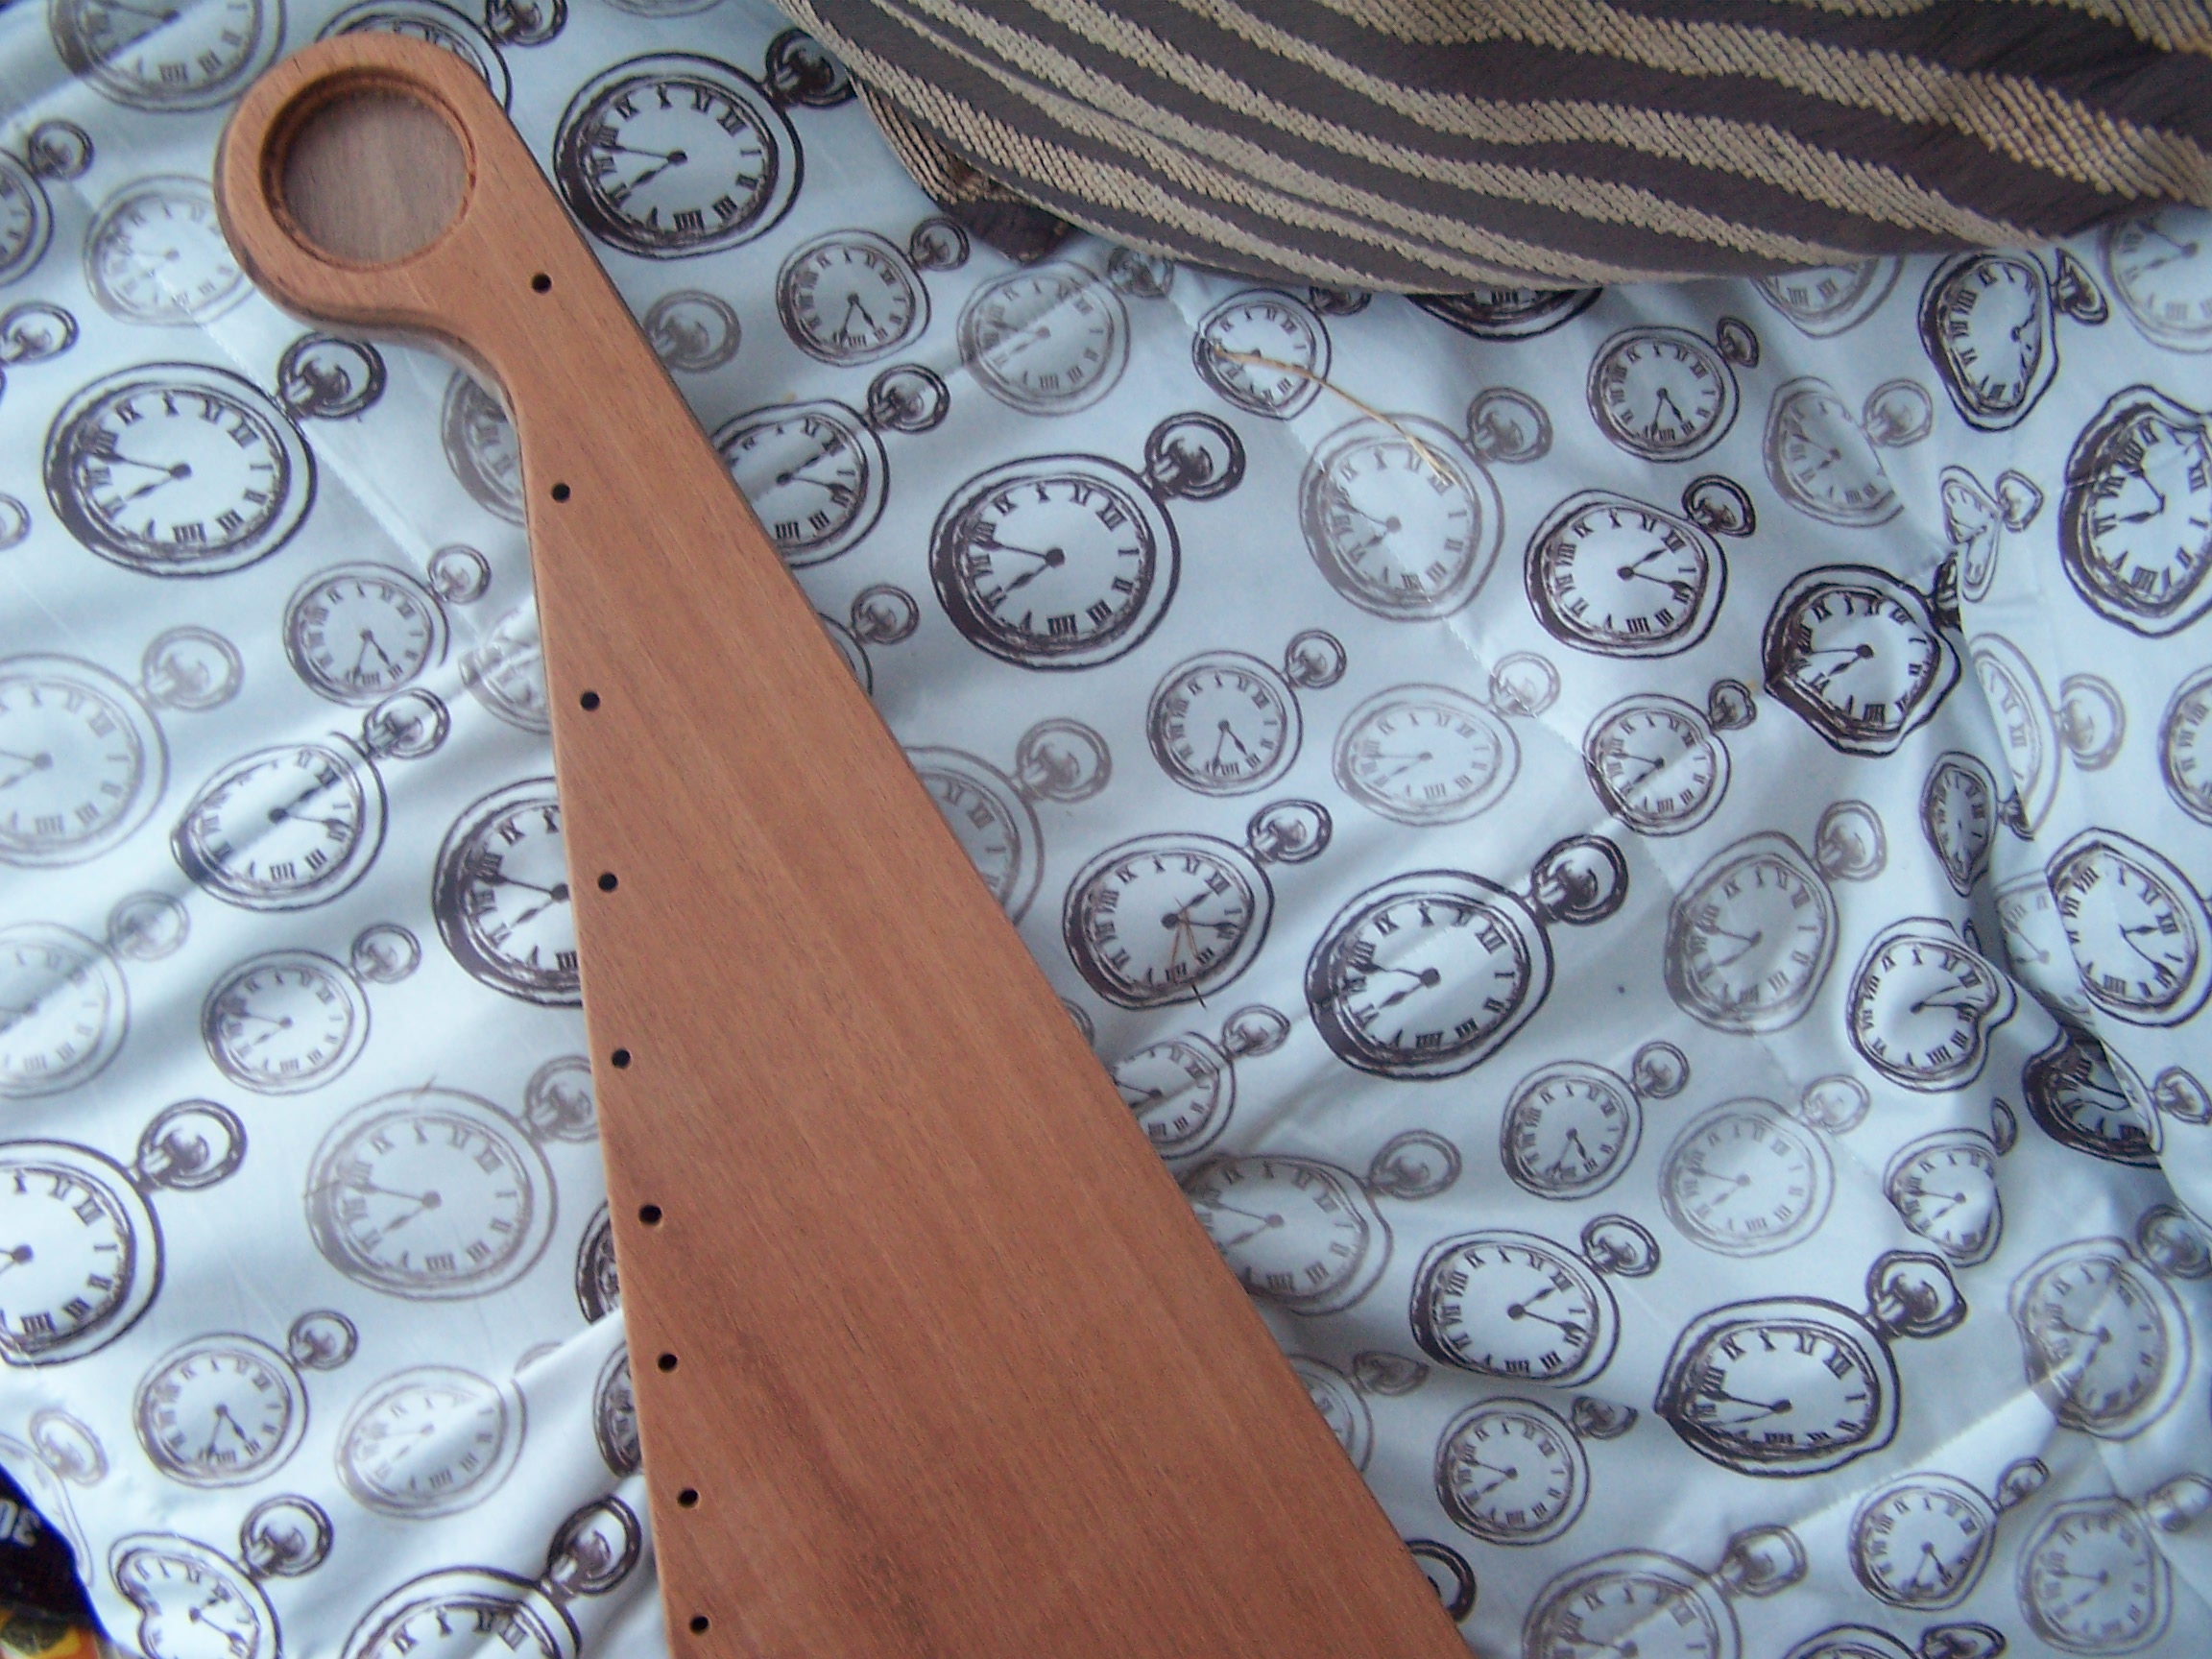
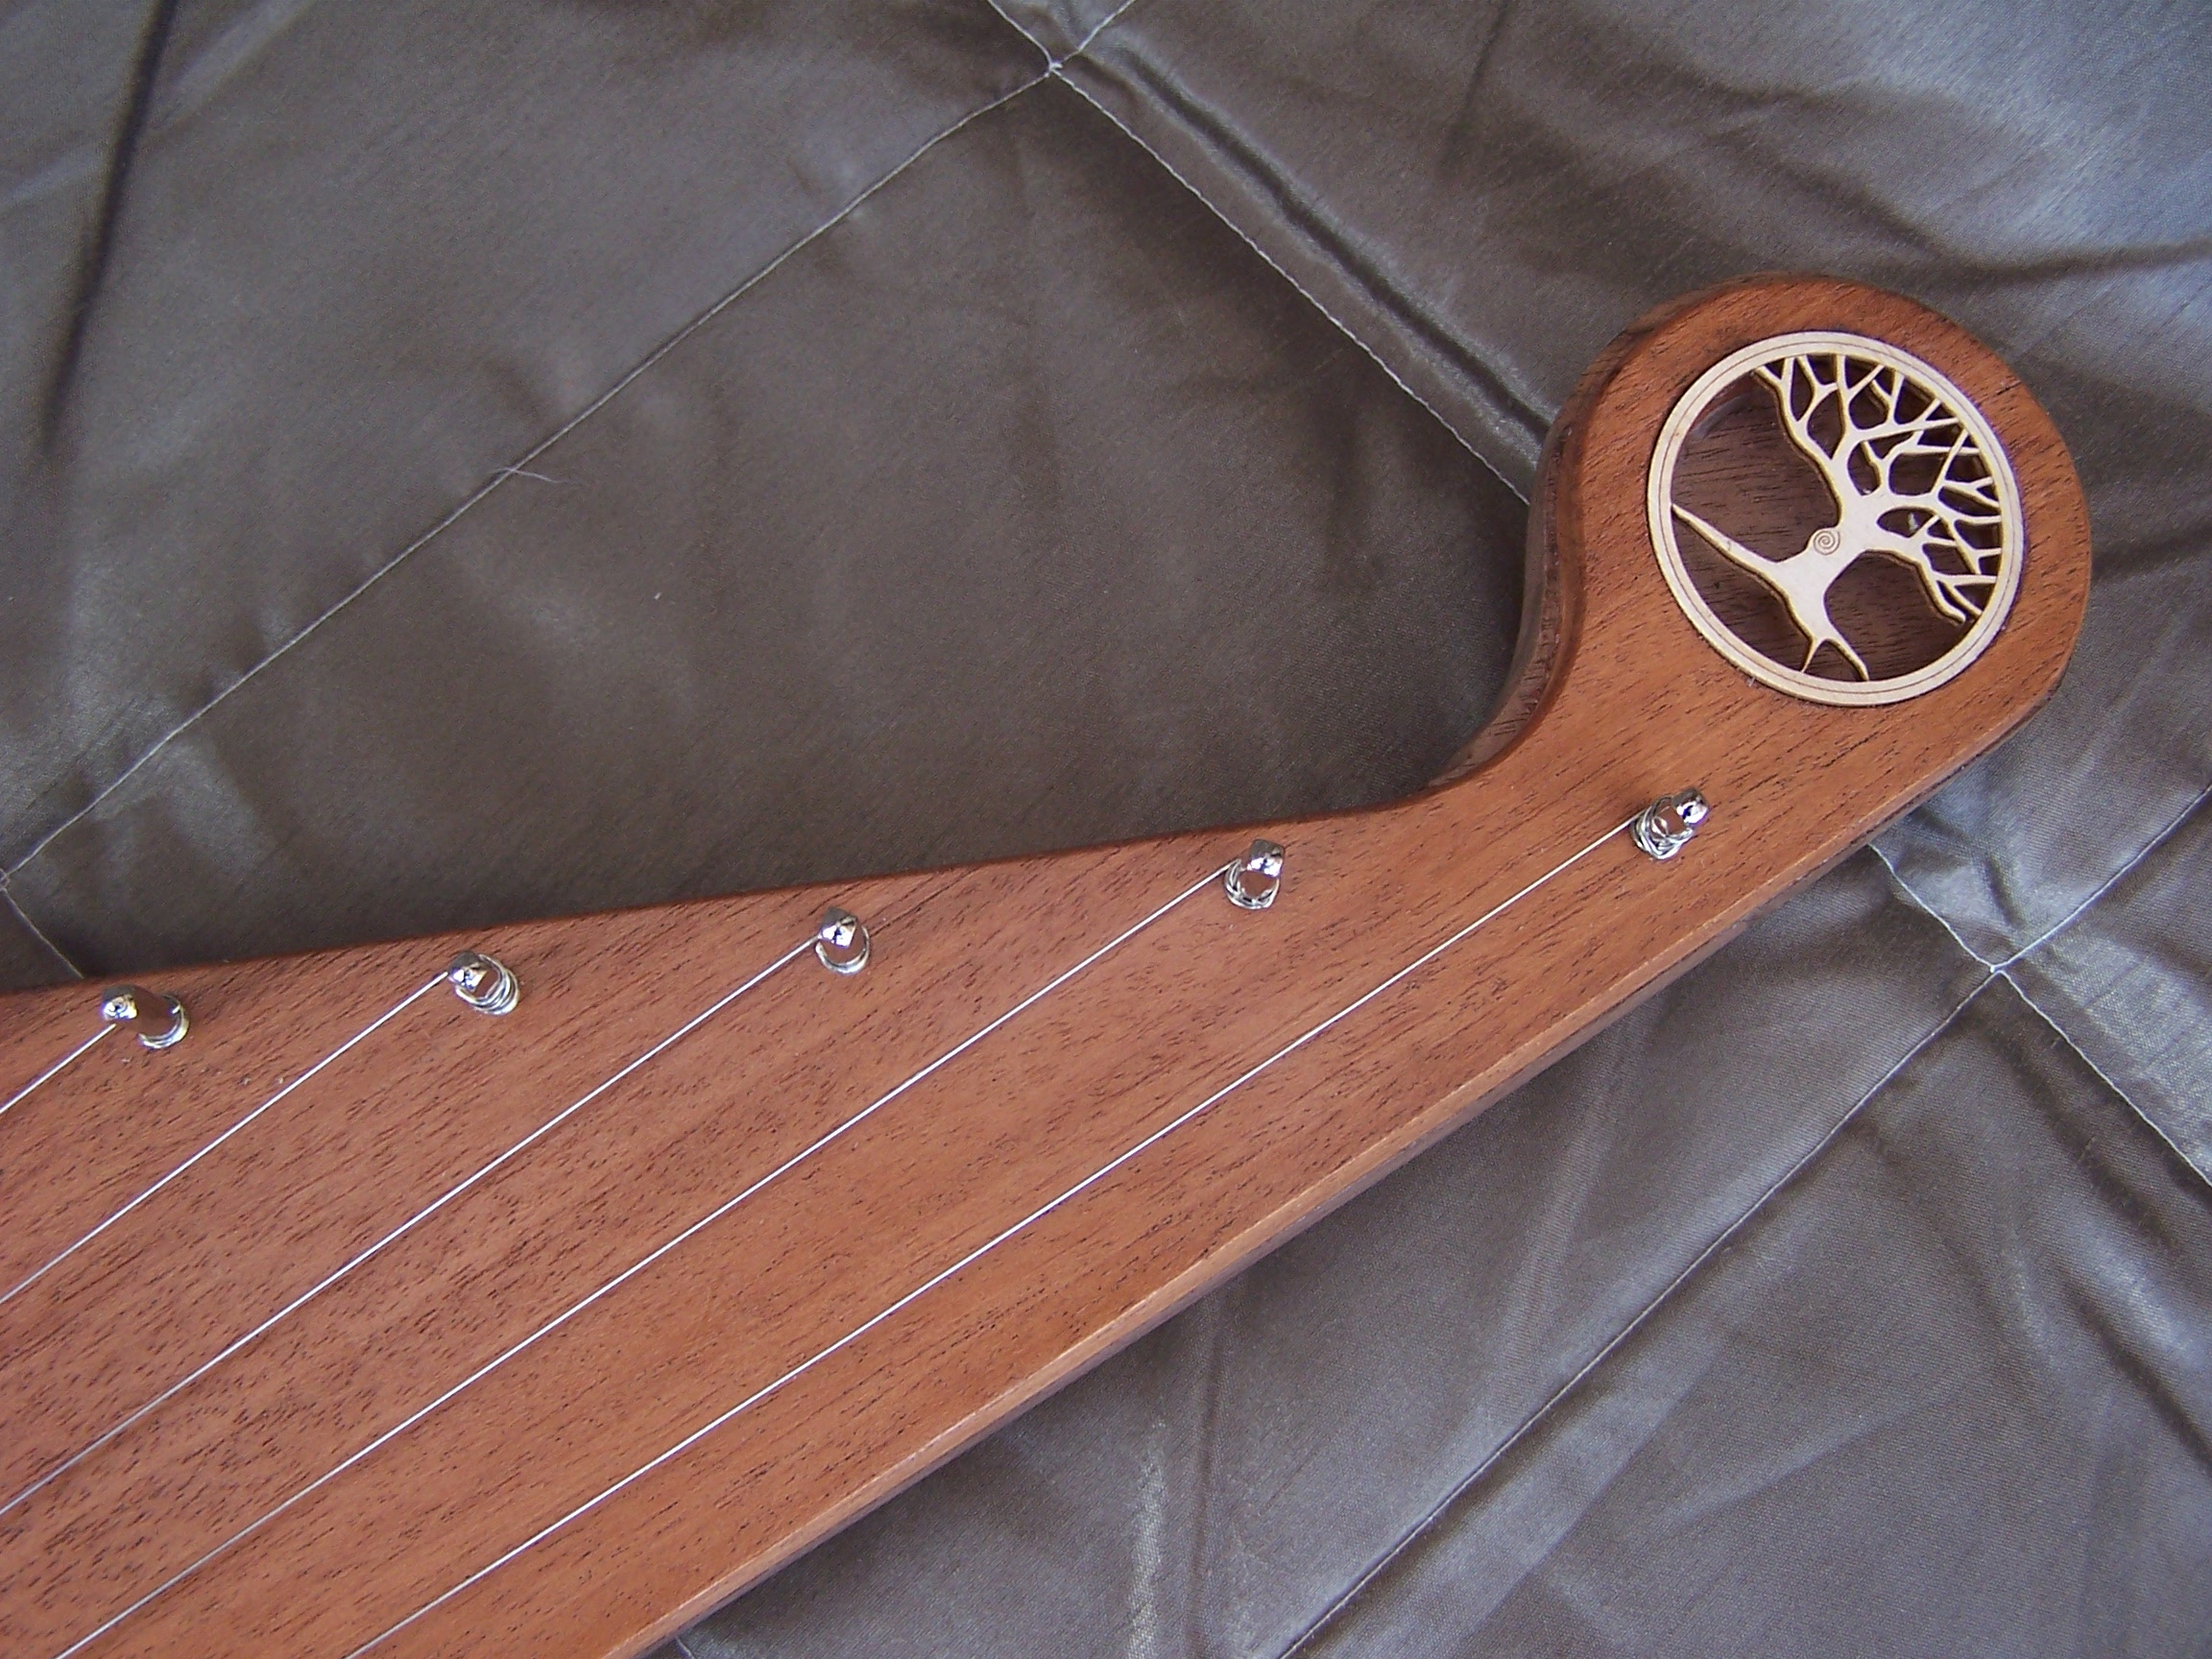
although it looked a bit like four weird-shaped bits of wood stuck together, the key thing was they were stuck together the right way. The glue ooze wasn’t too bad, and I approached the next session with a little more confidence. Next steps consisted of gluing the tail piece and the ‘snail’ bit on; in another departure from the manual, I held off gluing in the fancy rosette till much later on, once I’d had a chance to sand the area underneath down and apply a coat of varnish, as I didn’t see how I could possibly do that with the rosette in.
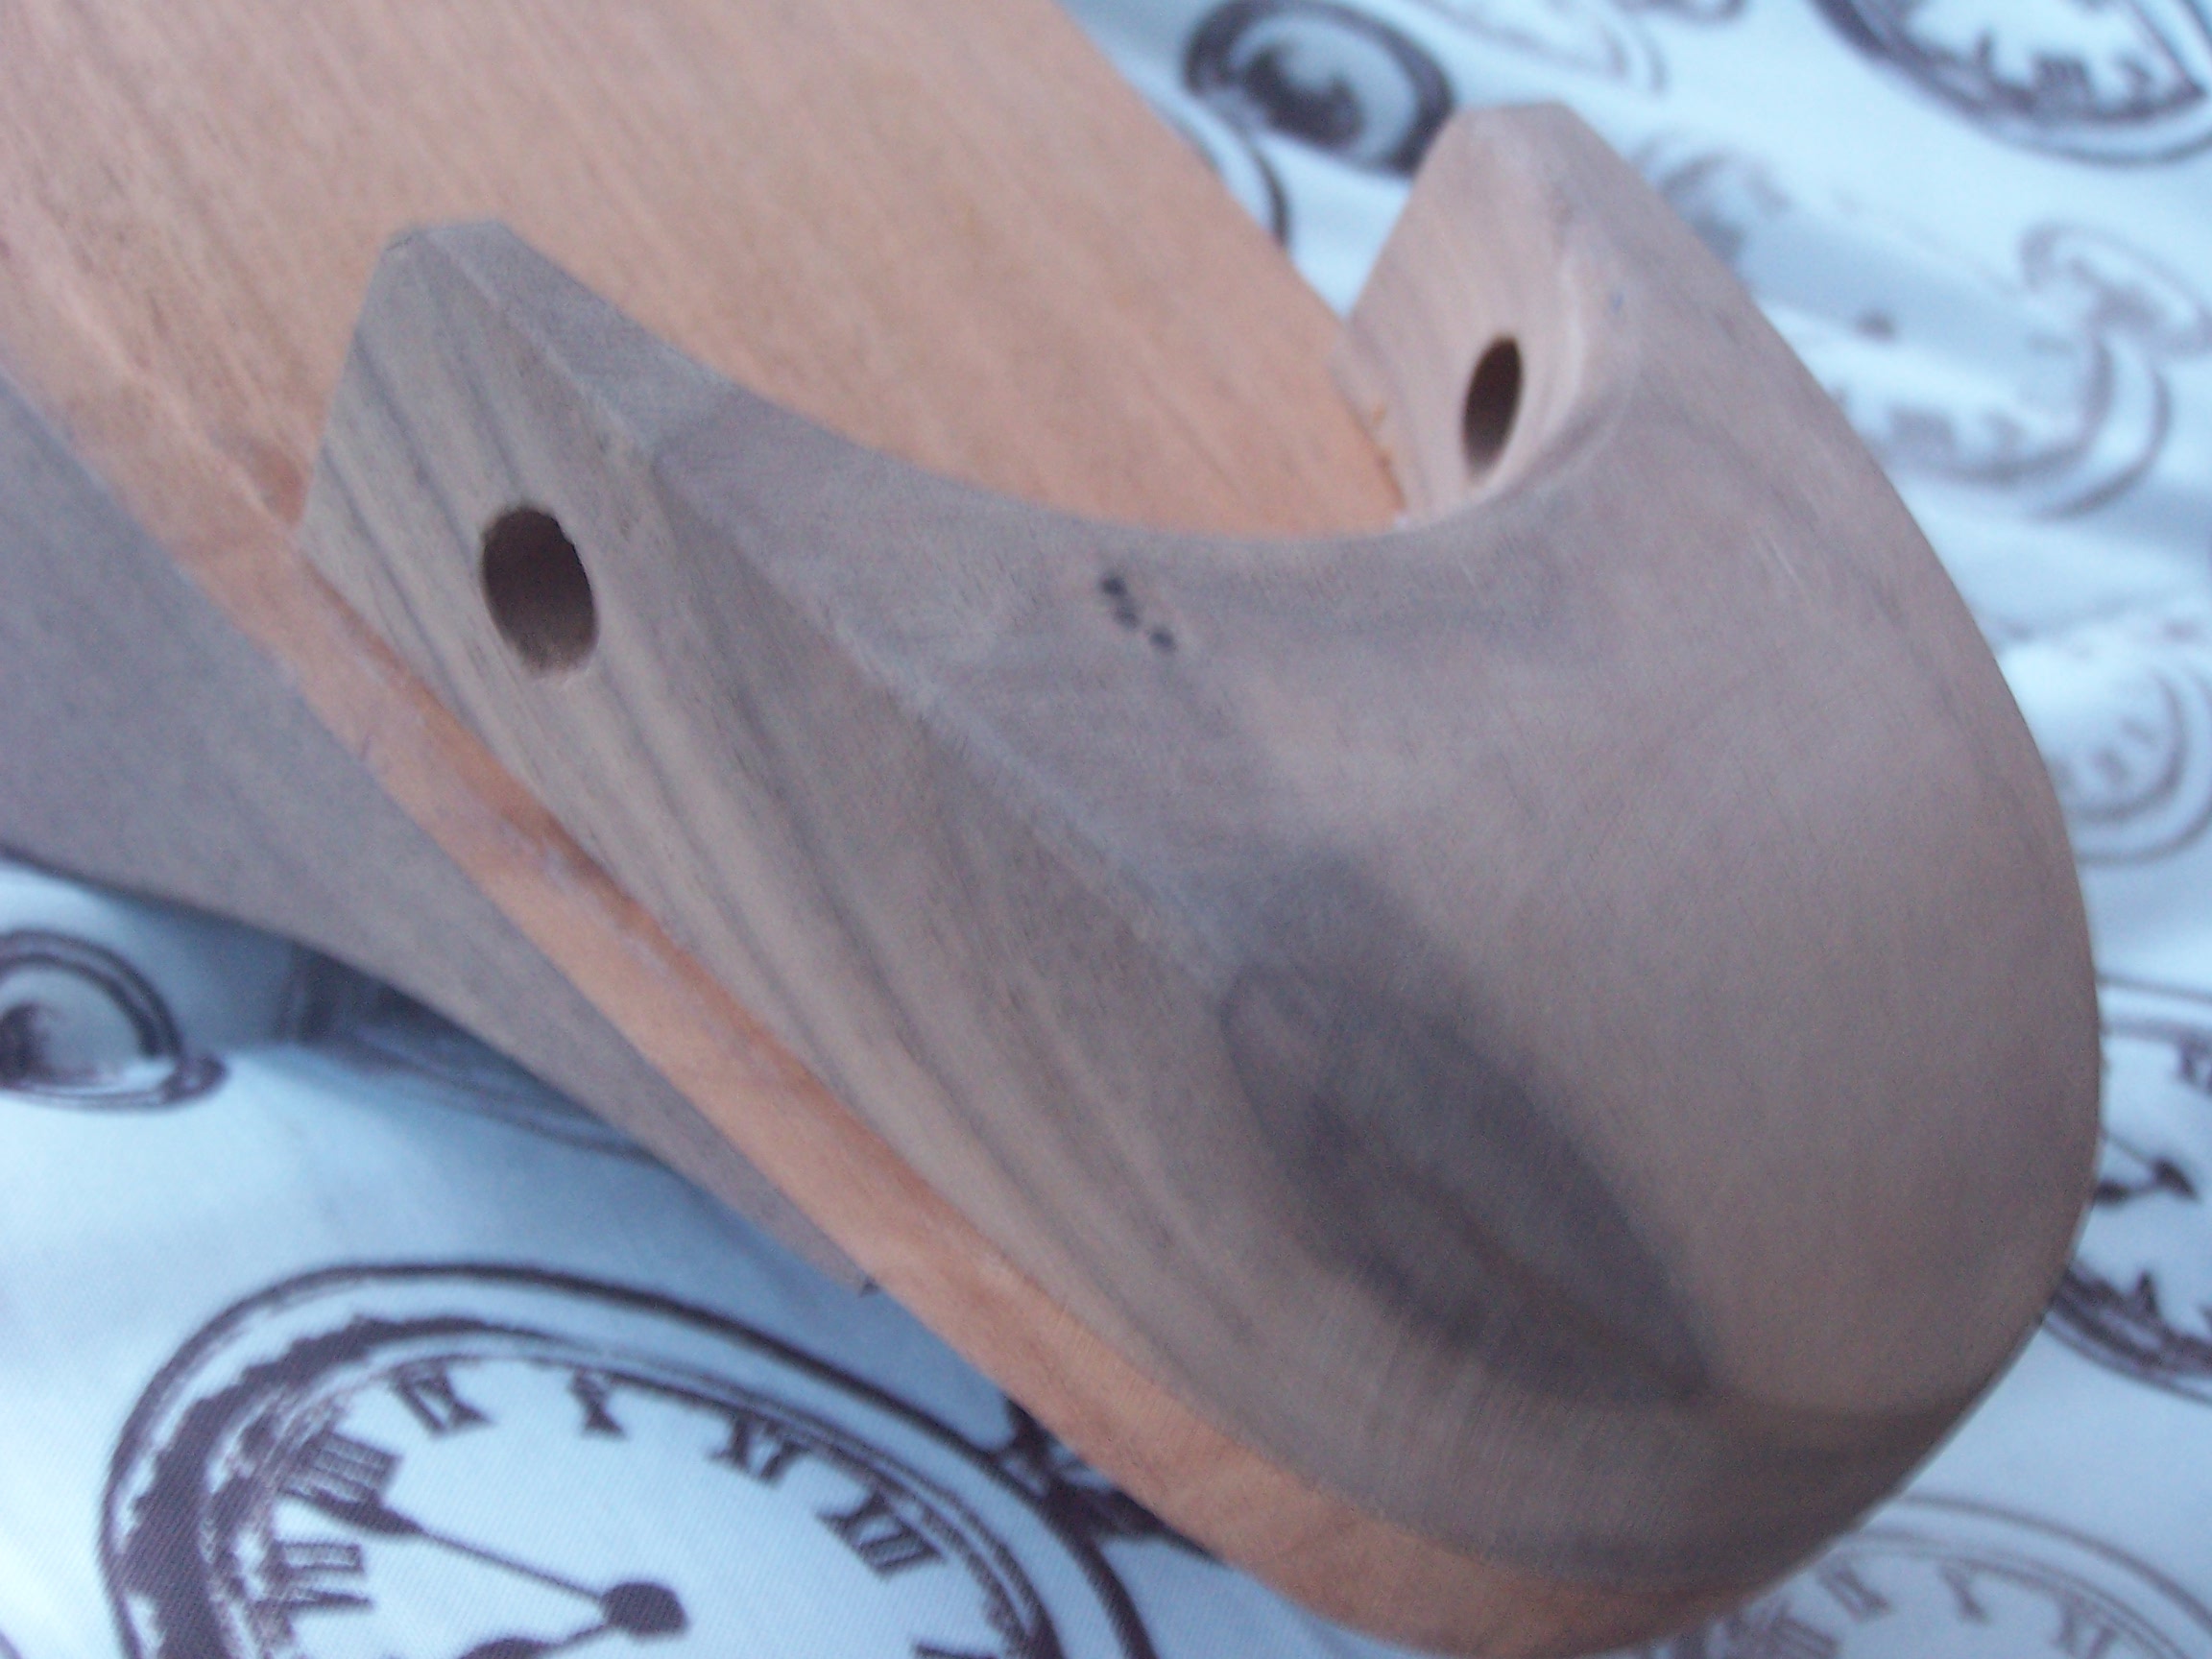
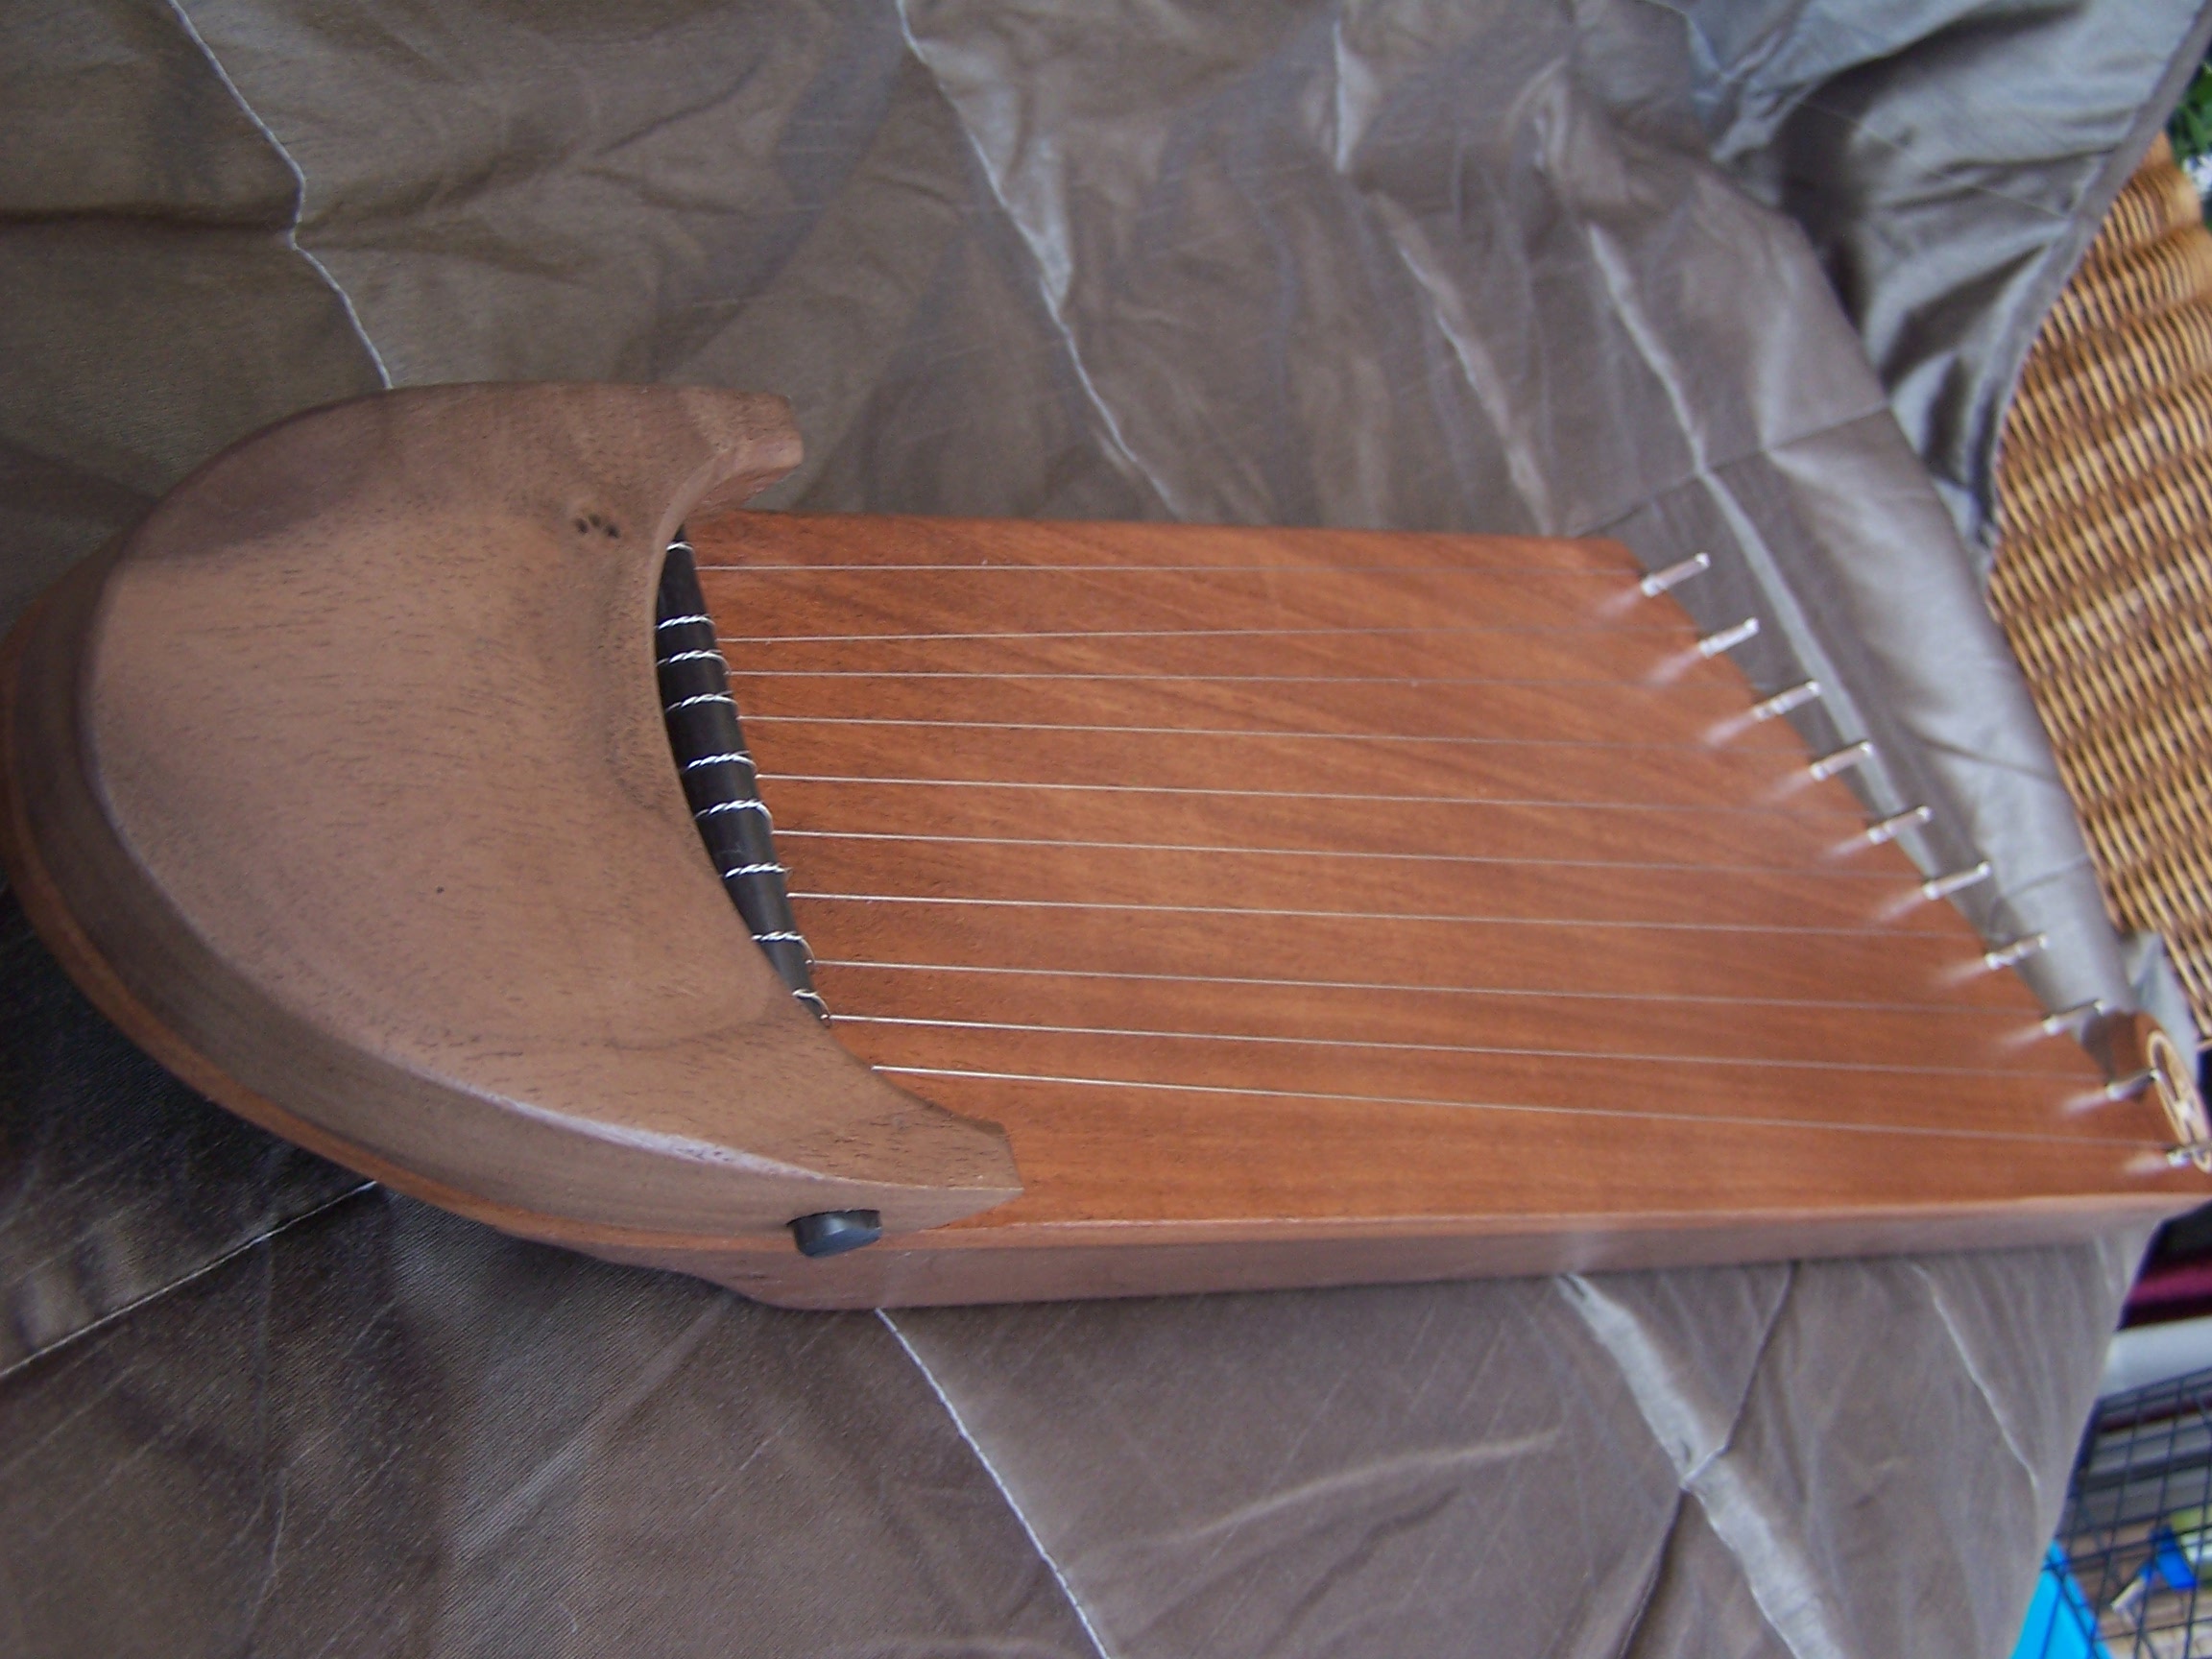
The final, crucial stage that required the Good Doctor’s input was drilling the zither pin holes. This is, I reckon, the part which needs most care and precision, because if you don’t get the holes straight, you’ll end up with zither pins wonky as a row of British dental work, with associated tuning problems. Fortunately, the Shed of Wonders had not one, but two fixed drills, which allowed a much better job than any hand-held drill could have done.
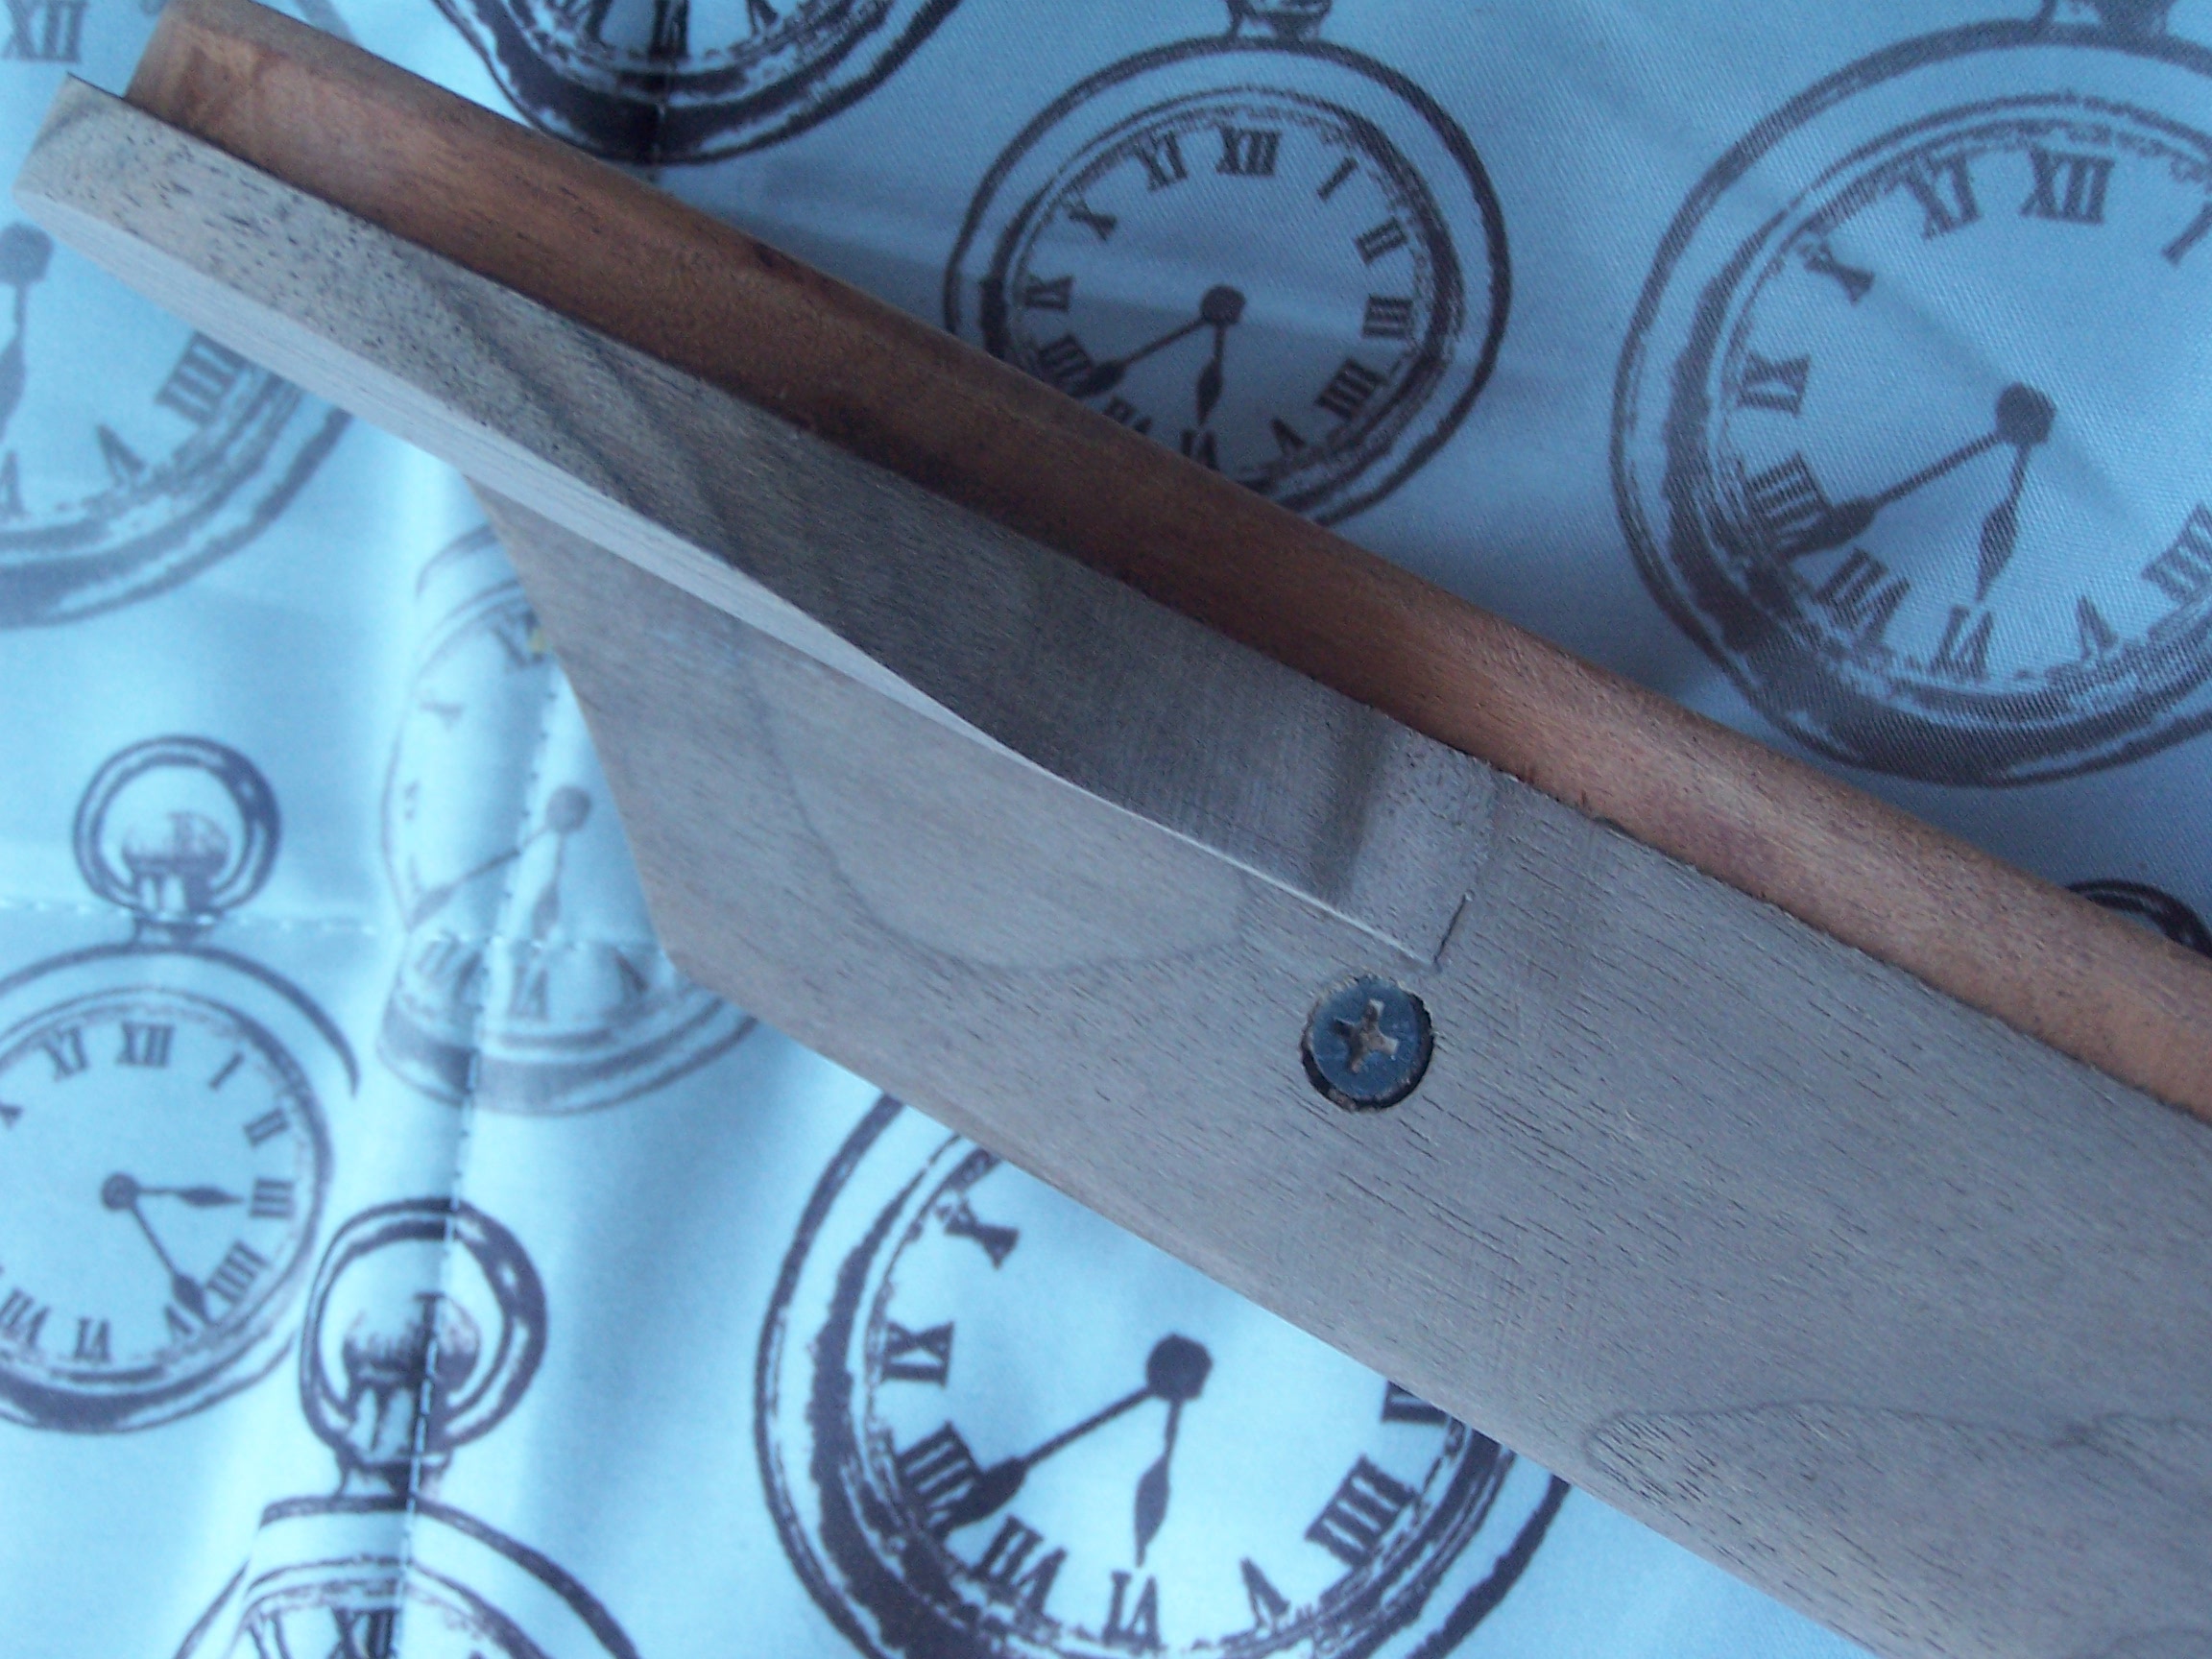
Then came the sanding. Again, I approached this with low levels of confidence, and chickened out of using my electric hand sander (which I suspect had been a purchase of my own Dad’s from one of those Lidl promotions retirees queue in the snow for on Thursday mornings) and took it on with nothing more than a sanding block and the two recommended grades of paper over a couple of sunny, if Baltic, winter afternoons out on the patio. Somewhat to my surprise, I didn’t manage to dislodge any of the glued together bits: even more to my surprise, edges which looked like they would never disappear melted beneath my frenzied assault. Really quite soon, it looked like this:
Ok, so I know that doesn’t look so very different, but you weren’t really there, man! And yes, I did wear a plaid shirt whilst outside in the cold, sanding away at my bit of wood. Even metrosexuals get to be macho sometimes.
A week of applying clear varnish and letting it dry ensued – I got quite OCD about this, and put three coats on most of it, and four on the playing surface. Then, a Thursday night came when, after several weeks of fitting this into all the other stuff that goes on here, I tapped the zither pins in (lightly) with a hammer before finishing with the tuning tool, as directed by the manual, fitted on the strings (the online video was particularly helpful here) … and … it was done!
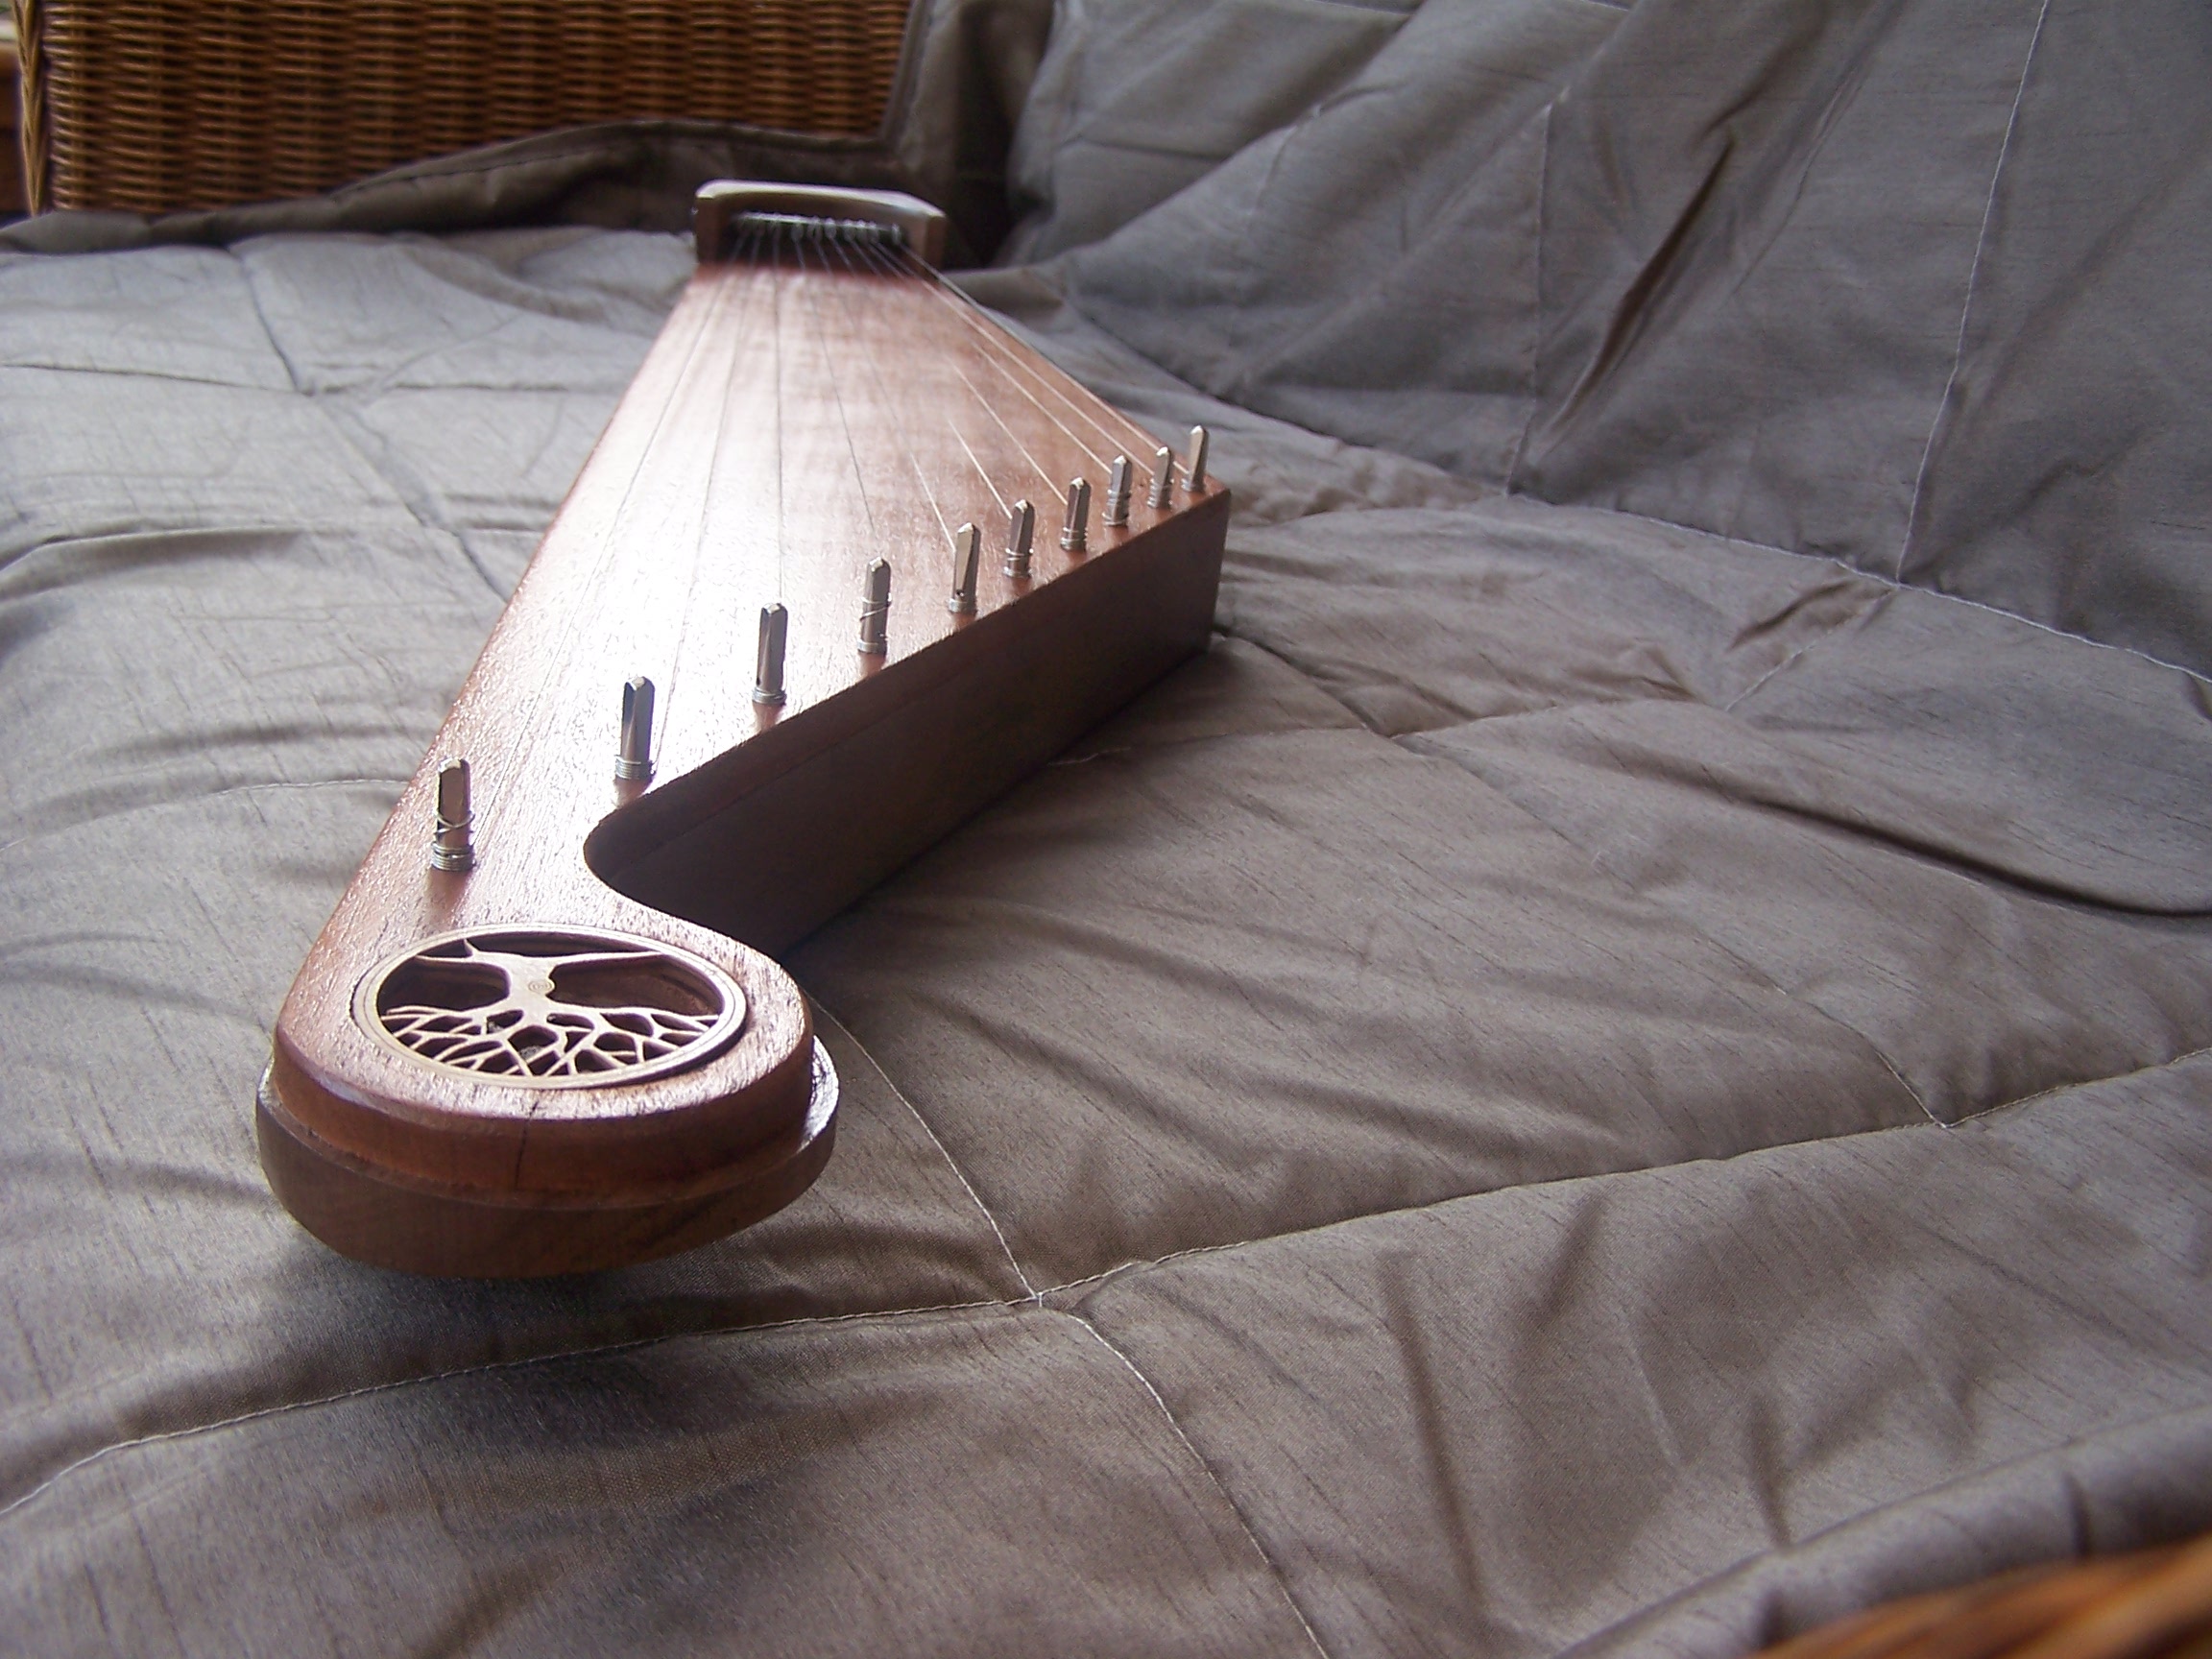
Isn’t she beautiful? Just like any stringed instrument, the tuning took a couple of days to settle. However, it now holds its tuning just as well as any of my guitars. And you can even listen to my first, stumbling attempts to play it…
I’d thoroughly recommend harpkit.com to anyone fancying a go at making a musical instrument from scratch. Just either be handier than Handless Andy here, or have your own version of the Good Doctor on speed dial.
If you see an advert underneath here, I didn’t put it there.

Nice pun in your title. Looks good. The wood will open up and give you a good sound although it sounds good now. I’ll look forward to hearing more on it!
Thanks, JR!
Sounds lovely!
Thanks Norman – available for weddings and bar mitzvahs, although I’m still at a basic skill level playing wise…!
You have a lovely first kantele composition. I am also in love with that sound, though I don’t think my harp would appreciate my stepping out for a kantele.